Google Calendar
Listing your events using Google Calendar
If you organise events it’s good to make sure they are published as open data. This helps event listing sites, and it helps your regular attendees.
An easy and free way to do this is to use Google Calendar. You can make a public Google calendar that several organisers can edit. Regular event attendees can even import your calendar straight into their personal calendars!
Just make sure you remember to keep this up to date; it’s easy to set up a recurring event but then forget to change it when something happens.
Here are step by step instructions on how to do this.
(These instructions are for how to do this in a browser on a desktop computer or laptop.)
You and anyone else who wants to edit events will need a Google account, but people will not need a Google account to see them.
Create the calendar
Go to Google Calendar and make sure you are logged in.
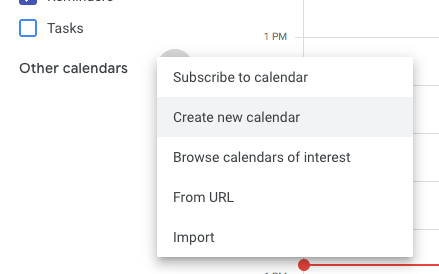
Next to “Other calendars” there is a plus sign. Click it and select “Create New Calendar”.
Give your calendar a name, description and select the right timezone for your events.
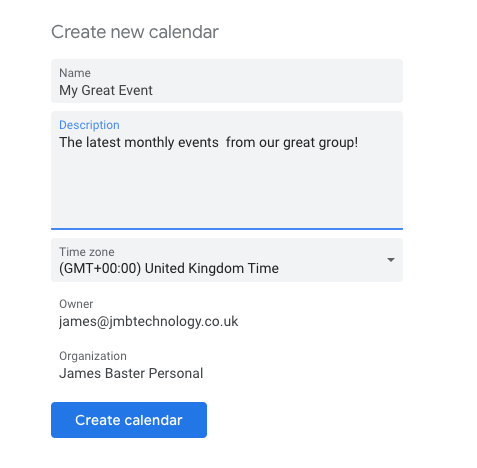
When it is created, you’ll see a success message, and the form will go back to being empty.
Click back to go back to the calendar.
Add your first event
Now add your first event! Click to add an event as normal, but there is one option you must make sure you select. You can now choose which calendar you make your event on. You must make sure you select the name of your new calendar.
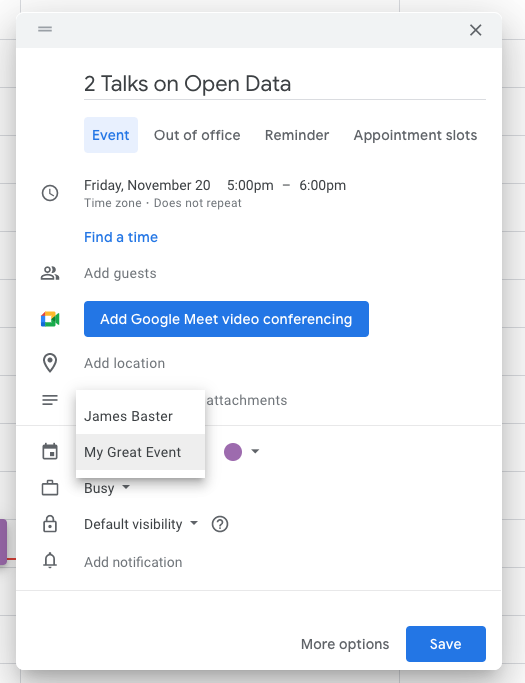
Add in the rest of the details and create your event.
Make it public
You must now configure your calendar to be public and shared.
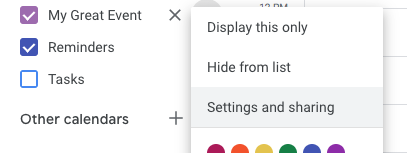
In the left bar, there is a list of calendars and your new calendar should be there. If you hover over the name, 3 dots will appear for a menu. Click it, and select “Settings and Sharing”.
In “Access permissions”, select “Make available to public”. Make sure “See all event details” is selected.

Get details to share
Now scroll down to the “Integrate calendar” section. You will want to note 2 URL’s here - the one for “Public URL to this calendar” and “Public address in iCal format”. When people ask where they can get your events from, give them these two addresses!
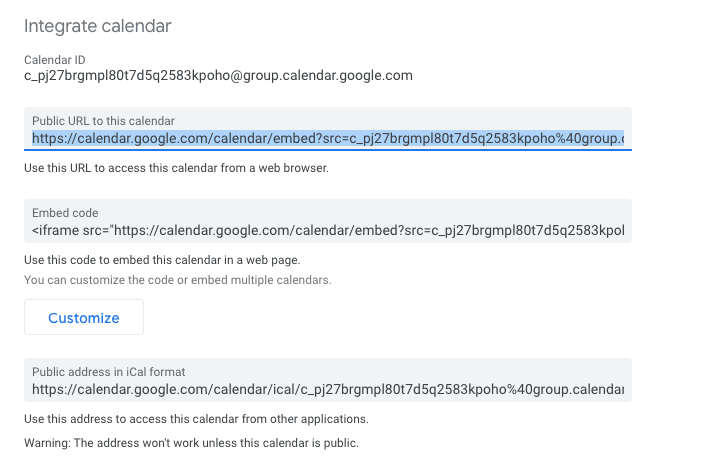
The first one, “Public URL to this calendar” can be looked at in any web browser.
The second one, “Public address in iCal format” is the data in a machine format for other apps - it can be used by people to import your events directly into their calendar software.
You can also see “Embed code” there - using this, you can show your events directly on your own website.
Give others permission to edit
Finally and optionally, if there are several organisers for these events you should give them all permissions to edit the calendar. This will make keeping it up to date easier.
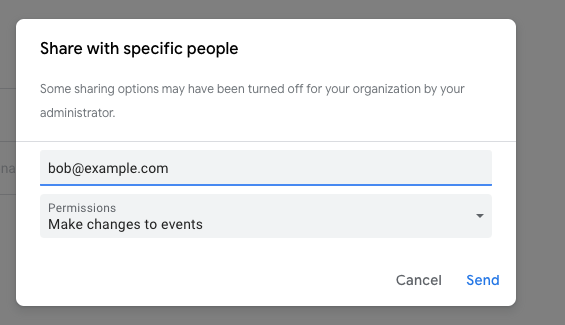
Scroll back up to “Share with specific people” and click “Add people”.
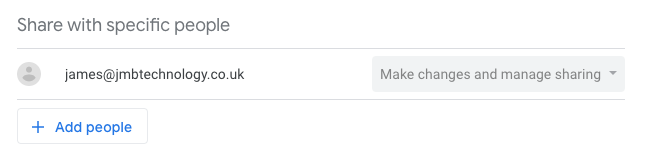
Enter their email address and make sure one of the 2 “Make changes” options is selected. That’s it!